I've continued to work on coffee roasting at home.
After my initial roast, I decided to modify my popcorn popper as described in
here and
particularly here. Here's what I've done.
Here's the machine unmodified.
Step 1: Take the machine apart and verify the wiring prior to modification.
 |
| Bottom held on by 4 small philips head screws. |
 |
| Unmodified wiring. |
 |
| Motor base. AC, ~17v in with diodes to turn to DC. |
 |
| Popper internals. White part is base holding fan. Central black part holds heating elements. Top silver part directs hot air up. Assembly held together with 4 screws. |
 |
| Schematic. Note two heating elements with 40 ohm element in series with motor. |
 |
| Heating element on base |
 |
| Heating element removed from base |
 |
| Top of popcorn roasting chamber. NOTE: This is not the kind of recommended roasting chamber and is said to pose a fire hazard. So far I've not had any issues. |
Step 2: Make the modifications.
 |
| After taking the wire nuts off, I rewired with independent circuits for each of the two heaters and a third circuit for the motor. |
 |
| Used a cable tie as stress relief. |
Step 3: Make the control box.
 |
| Used a large work box to hold the controls. |
 |
| Cut the unwanted tabs off and drilled a small hold for AC to the controls. |
This is the schematic I worked off of.
I was able to find AC switches with a built in red/green indicator light at Radio Shack. The schematics on the part bag are a bit confusing. L/N are an international standard for line/neutral.
 |
| Part 275-0021, 16A, 125VAC |
 |
| Mounted everything on a small board with transformer external (a bit of testing showed that the transformer got somewhat warm). |
 |
| Components mounted and wired. There is a fair bit of wire so having a large box was helpful. |
That's it for the basic modifications. I also decided to replace the plastic top that came with the popcorn popper with a glass oil lamp chimney and provide a temperature probe to monitor roast temperatures.
 |
| Glass chimney and probe. |
 |
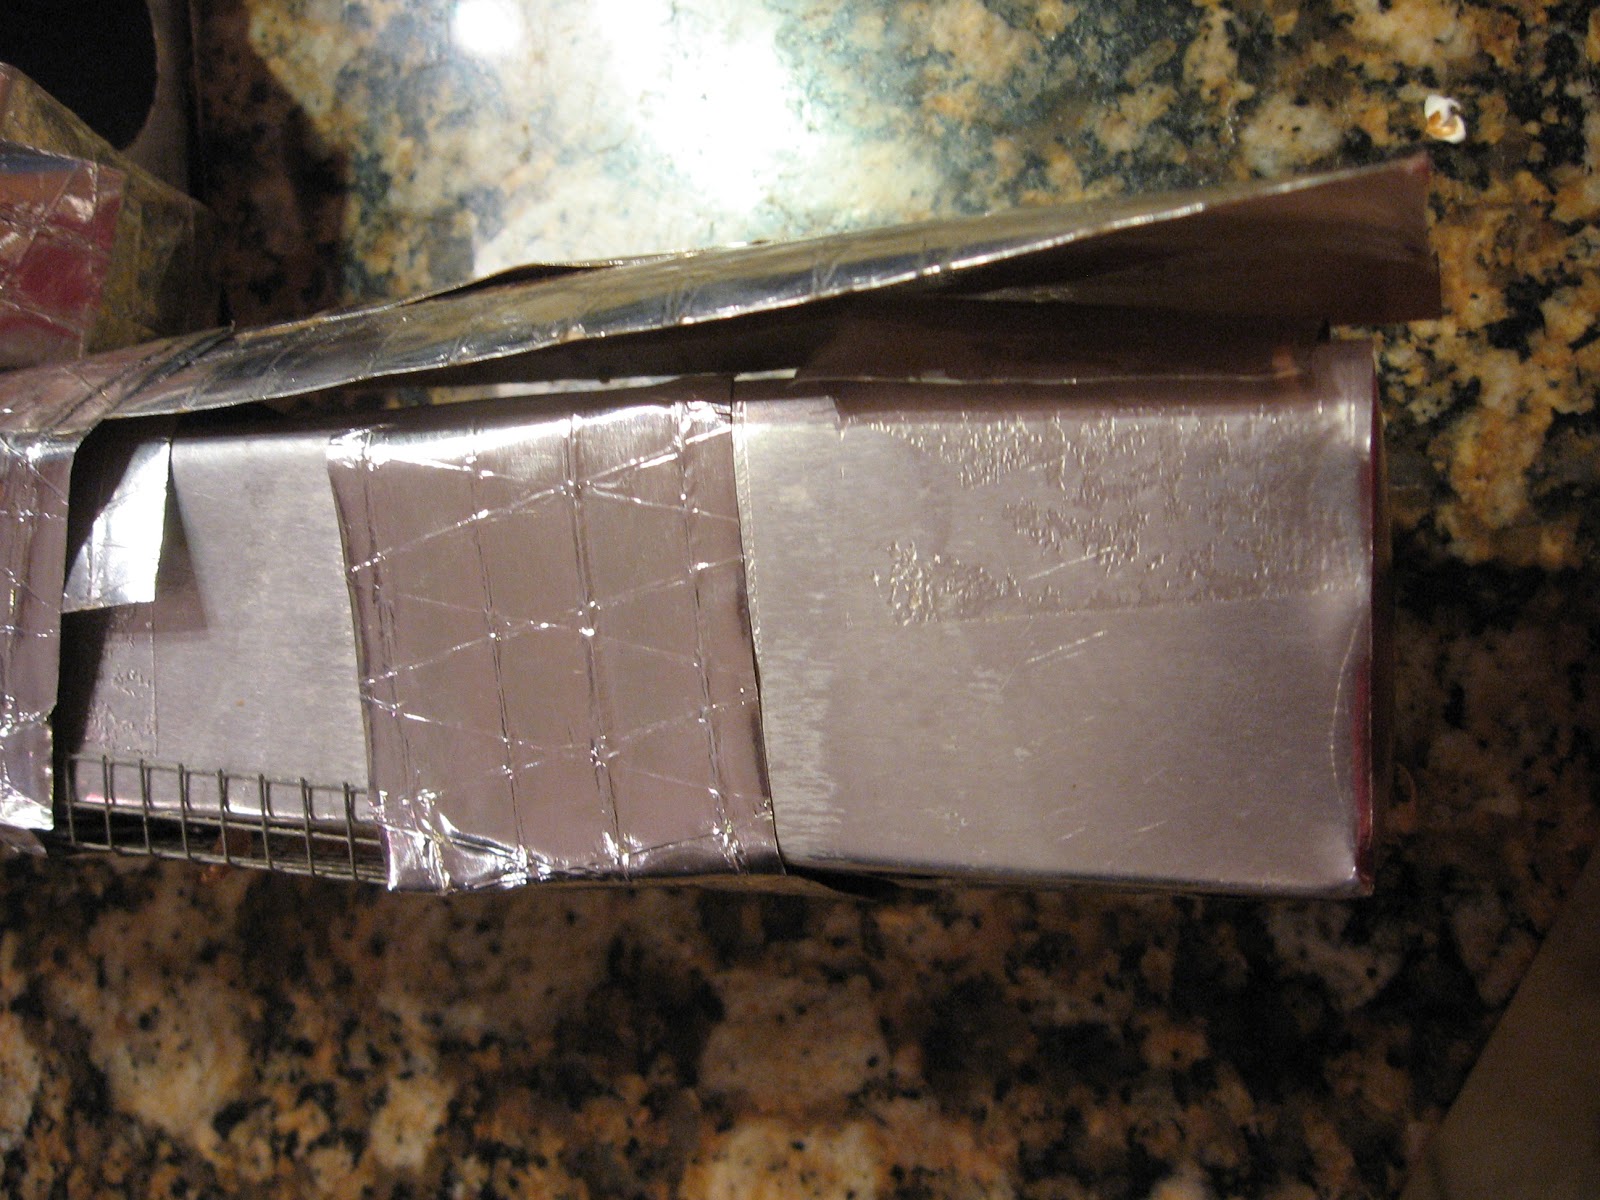
| I made a sheet metal collector for chaff with a screened section to vent smoke. This didn't work (see below). |
Time to test.
 |
| 100 g of beans |
 |
| Setup under stove hood |
The roast went well as I controlled temperature by pulsing the heaters. Here are the results.
All in all things worked OK. Here's what I've learned.
- The fan will run much faster. DC voltage across the unmodified motor was 17v. After modification it was 25v. The motor had some part information on it but I was unable to actually read it. I suspect that it is a 24v DC motor and am hopeful that it will operate ok as modified.
- I'm a bit uneasy about switching the heaters on/off. My concern is the physical stress this might create in the heater elements.
- I need a roasting PLAN! Now that I have control of the heaters and fan I should have some idea of what I want to do by way of a time/temperature profile.
- The chaff collector didn't work well. There were several issues. The aluminum tape, really paper tape with an aluminum backing, failed. The screen area, about 6 square inches became clogged and chaff blue out of the sheet metal seams. I clearly need a better chaff collector!


No comments:
Post a Comment